Pruvan allows you to brand our site to make it a reflection of your business. This includes uploading your logos for display on Pruvan Online, Pruvan Mobile, the Client Portal, and our PDF reports; as well as change the style and color of certain areas of Pruvan Online. In order to display create your brand you'll need to create a partner code and then upload your images and CSS stylesheet.
Create a Partner Code
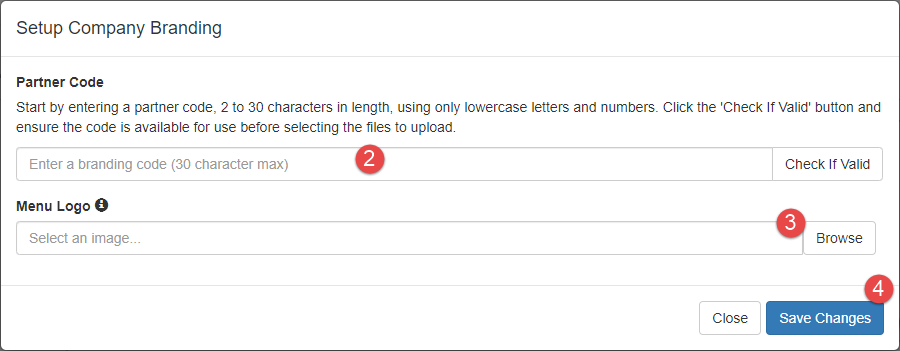
Your partner code is how your brand will be distinguished from the Pruvan-branded system. When you link your vendors to Pruvan to sign up for their accounts you will provide the Pruvan URL with your partner code in place of "www". ie for partner code 'aplus': https://aplus.direct.pruvan.com. Log in to Pruvan Online and follow these steps to create a partner code.
- Hover over the Pruvan logo and click the Pencil Icon
- Enter your Partner Code
- Upload a logo to be used in Pruvan Online and Pruvan Mobile
- Save your changes

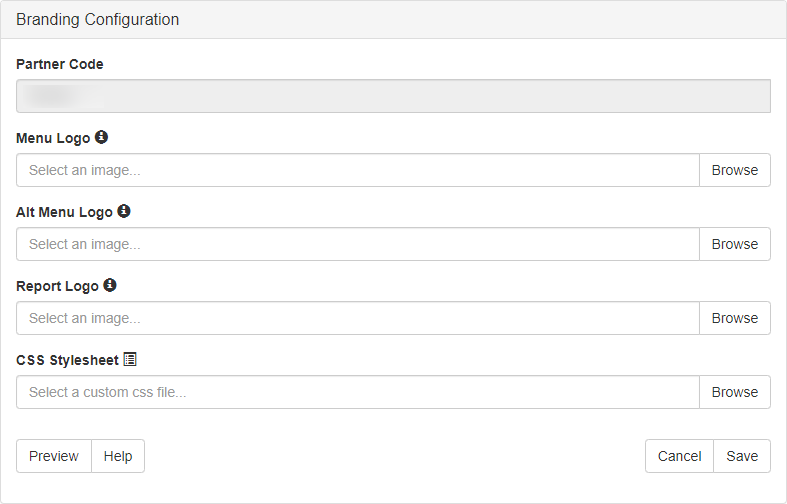
Create your Report Logo and Stylesheet
Under the User Icon you can click Branding to add additional information including a CSS stylesheet and a logo to be used on your Pruvan Invoices/reports.

The Stylesheet must be in valid CSS format and only modify the below items. Any modifications to elements that are not listed below will be stripped from the file on upload. Modifying child elements of the below is allowed. Common CSS properties that are modified are listed below, as well as an example stylesheet.
CSS Classes and IDs that are customizable:
- .navbar
- .navbar-nav
- .navbar-nav.open
- .navbar-text
- .navbar-brand
- #gohome-group
- .navbar.glyphicon
- #loginPagePanelTitle::before
- #signupPagePanelTitle::before
- .navbar-header
- #top_menu
- #menu
- #page-nav
- #toggle-home
- #panel-nav-icon
- #page-nav-icon
- .navbar-text
- #prv-page-navbar
Commonly modified CSS Properties:
- color
- background-color
- background
- padding
Sample CSS
		.navbar, .navbar-brand, .navbar-text {

		  background-color:
		#f3f9f0!important;

		}

		.navbar-brand
		{

		  padding-top: 13px;

		  padding-left: 15px;

		  padding-bottom: 13px;

		  padding-right: 15px;

		}

		.navbar-brand img
		{

		  max-height: 24px;

		}

		.navbar-nav .open li a:hover
		{

		  color: #fff!important;

		  background: #69a74e!important;

		}

		.navbar-nav li.dropdown.

		  open

			>


		a:hover {

		  color: #fff!important;

		  background-color:
		#69a74e!important;

		}

		.navbar a:hover,
		.navbar .glyphicon a:hover,
		#gohome-group a:hover {

		  color:
		#fff!important;

		background-color: #69a74e!important;

		}

		#loginPagePanelTitle::before {

		  content: "A+ Service
		Login"!important;

		}

		#signupPagePanelTitle::before {

		  content: "A+ Service
		Signup"!important;

		}

		.navbar-nav li.dropdown.open>a
		{

		  color: #fff!important;

		  background-color: #69a74e!important;

		}
Upload your Files
Now that you have a partner code and your files you can upload your logos and your CSS stylesheet. Follow these steps for each file:
- Click Browse for your desired file
- Locate and Select your file
- Click Open
- Verify you see a preview of your logo and it's dimensions

Preview and Save your Files
Once everything is uploaded click the preview button to see your brand in action. This will bring up a window of your Edit Profile screen. Don't worry nothing on this page will make actual changes to your account. It will let you see how your stylesheet and navbar logo look on the site before you save them. From here you can make changes and upload revisions to any of the files as many times as you need. Simply follow the Upload steps above to upload a new version of a file. Once you are ready to save, close the preview window, and click Save. Refresh your screen to see your newly branded account!

Your brand is now created! For your vendors that are creating their own Pruvan account have them sign up at https://yourPartnerCode.direct.pruvan.com. Don't worry if you need to make a change, you can upload new files at any time.
Comments